* On your first PCB Assembly order!
* Up to $300 discount
 C - A L L E Y
Home | Events | PCB | About Us | News | Contact Us
1. Print the Circuit Board: Start by printing the circuit board design on transfer paper, ensuring the shiny side is facing up. It's advisable to print two boards on a single sheet of paper to optimize material usage. Aim for the best printing quality during the PCB circuit board production.
2. Cut the Copper-Clad Plate: Use a copper-clad plate, which is a circuit board coated with copper film on both sides. Cut the plate to the appropriate size for your PCB, ensuring it's not excessively large to save materials.
3. Pre-Treat the Copper-Clad Plate: Polish the surface of the copper-clad plate using fine sandpaper to remove any oxidation. This step is crucial as it ensures that the carbon from the thermal transfer paper adheres well to the copper surface. The standard for polishing is a bright surface free of noticeable stains.

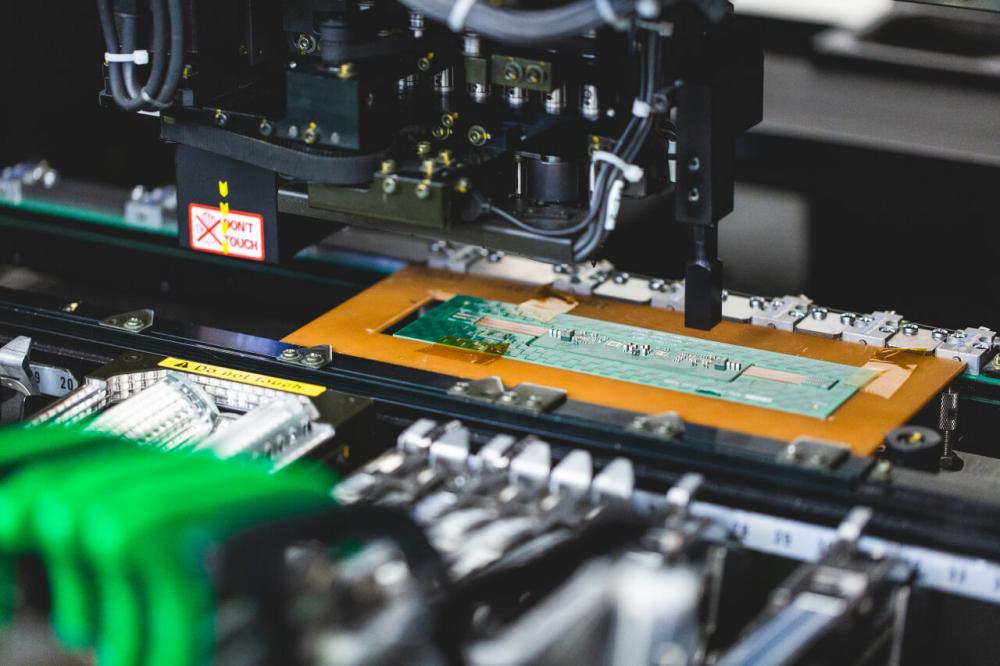
PCB Circuit Board Production Process
4. Transfer the Circuit Board: Trim the printed circuit board to the correct size and align the printed side with the copper-clad plate. Place the assembly into a heat transfer machine, ensuring that the transfer paper is properly aligned. Typically, after 2-3 heat transfers at a temperature setting of 160-200 degrees Celsius, the circuit board should be successfully transferred to the copper-clad plate. Be cautious while operating the machine due to the high temperature.
5. Corrode the Circuit Board First, verify whether the circuit board transfer is complete. If there are sections that did not transfer, use a black oil pen to repair them. Once confirmed, proceed to corrode the board. When the exposed copper is entirely corroded away, remove the board from the corrosive solution and clean it. The corrosive solution consists of concentrated hydrochloric acid, concentrated hydrogen peroxide, and water mixed in a ratio of 1:2:3. Always add water first, followed by the acids. If any of these solutions splashes onto skin or clothing, wash immediately with water. Exercise caution when handling such strong chemicals.
6. Drill the PCB Board: Drilling holes in the PCB is essential for inserting electronic components. Choose a drill bit appropriate for the thickness of the component pins. Ensure the circuit board is stable during drilling, and avoid operating the drill rig too slowly. Supervise the drilling process closely.
7. Pre-Treat the PCB Circuit Board: After drilling, use fine sandpaper to remove the toner from the circuit board. Clean the board with water and allow it to dry. Once dry, apply rosin water to the side with the circuit traces. To expedite the solidification of the rosin, use a hot air fan to heat the circuit board; solidification should occur within 2-3 minutes.
8. Solder Electronic Components: After soldering the electronic components onto the board, you can power it on.
Why Choose China PCBA Supplier KSPCBA as Your PCB Circuit Board Production Process Manufacturer?
– Experienced and skilled team
– State-of-the-art equipment
– Strict quality control
– Excellent customer service
– Competitive price

Please send Email to kspcba@c-alley.com or call us through +86 13828766801 Or submit your inquiry by online form. Please fill out below form and attach your manufacturing files( PCB Gerber files and BOM List) if need quotation. We will contact you shortly.
 +86 13828766801
 kspcba@c-alley.com
 https://www.kingshengpcba.com/
 2/F, Building 6, Tangtou 3rd Industrial Zone, Tangtou Community, Shiyan Town, Baoan District, Shenzhen, China, 518108